
LEDES1998B Posted Bill Export Utility Online Help
Instructions
- Initial setup.
- Typical usage.
- Methods for editing the data.
- Checking your edits.
- Editing data you've already exported.
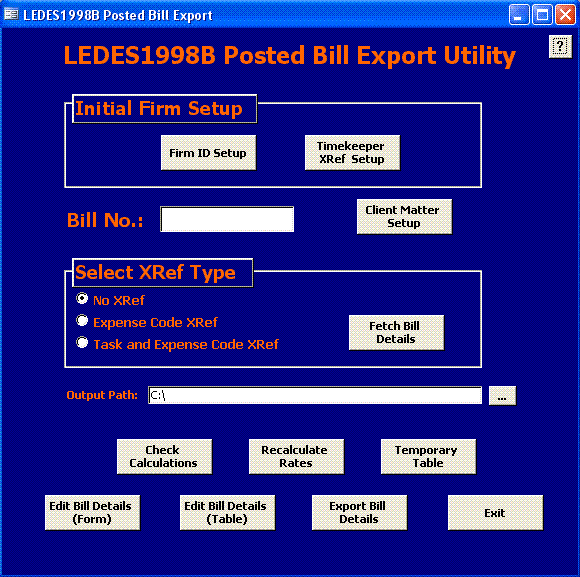
There is some initial setup required. First,
click on the Firm ID Setup
button.
 Enter
the Law Firm ID. Typically, this is your firm's EIN or tax ID. However,
your client may require a different ID. After you enter the ID, close
the table by clicking on the X in the upper right hand corner. You will
not need to save -- it saves as soon as you type.
Next, click on the Timekeeper XRef Setup button. Note: you must click
on this button, even if you do not have to include the personnel type
in the output file. Also, you must click on this button every time you
add a personnel type in Juris.
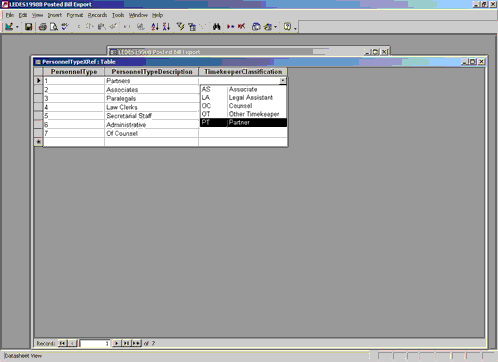 For each of your personnel types, click on
the corresponding row in the TimekeeperClassification column and select
the appropriate LEDES1998B timekeeper classification from the dropdown
menu.
The remaining steps are the typical steps you
will perform.
- Enter the bill number. Remember, it has to be a posted bill.
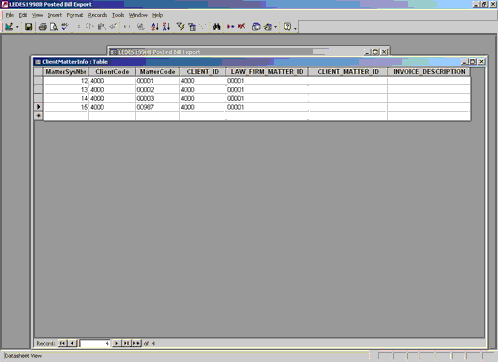
- Click on the Client Matter Setup button. Here you can enter the
CLIENT_MATTER_ID and INVOICE_DESCRIPTION, if required. Also, you may
change the CLIENT_ID or LAW_FIRM_MATTER_ID. If you selected a
consolidation and can only bill one matter, you can delete the rows
containing the matters you cannot bill. This information is saved for
subsequent bills on the same client/matter. Note: if you are billing a
consolidation, and not all of the matters were selected in a previous
bill, you will have to click on the Client Matter Setup button to make
sure you have all of the matters in this table.
- Select the appropriate XRef. The XRef is defined on the matter
level. Tip: if in doubt, select No XRef.
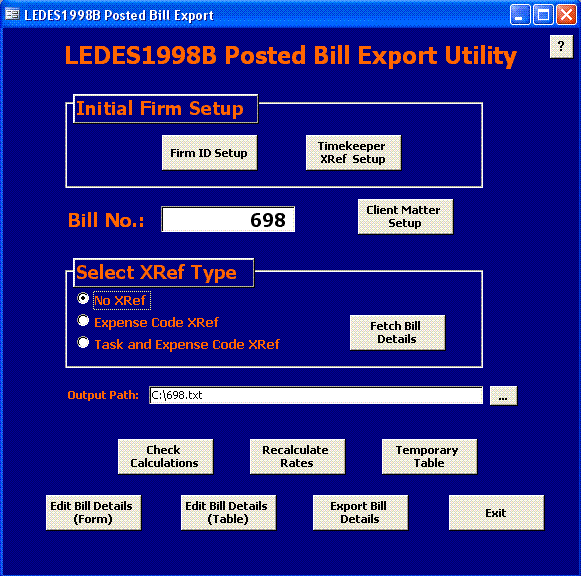
- Click on the Fetch Bill Details button.

- This utility will look for prepaid or discounts and include an
invoice level adjustment line in the export.


- Recommended (not required): Browse to a different folder instead
of the C:\ for the output path. This output path will be saved.
- If everything is okay in your original bill in Juris, you can
click on the Export Bill Details button.

- Submit the .txt file to your client.
Usually, you need to make some modifications to
the original bill. You
have several options:
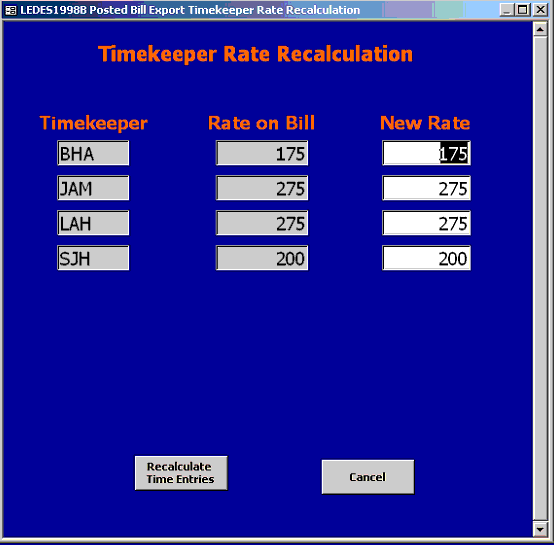
- The Recalculate Rates button is ideal for instances when the
original bill had incorrect timekeeper rates. It will recalculate the
amounts per line item and total bill.
- The raw data can be edited in two ways. The Edit Bill Details
buttons open either a form or the table. Both affect the data directly.
The Form view has friendly names for the columns. The Table view has
the LEDES1998B column names.
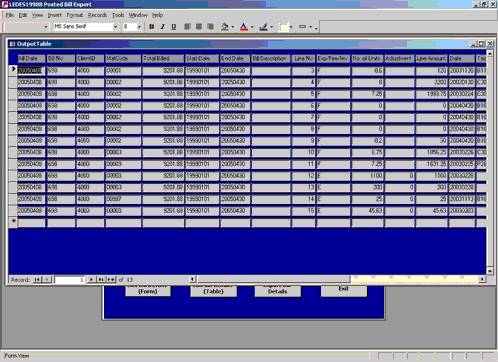
Here are a few examples of how you can edit the data:
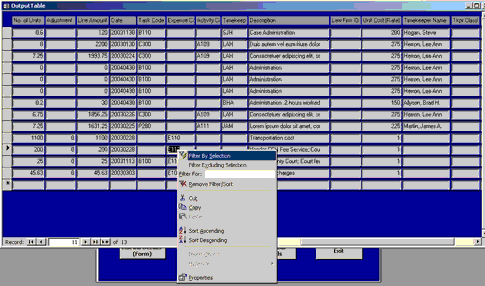 You can filter the data to see just the
items you want. The easiest way is to highlight a value and right click
to Filter By Selection. You can also sort your data.
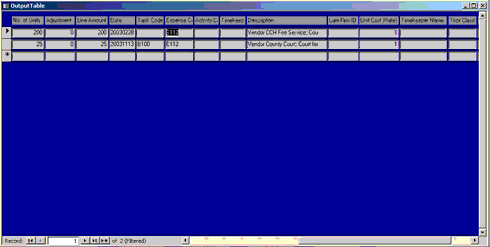 Now work on just the items you need to work
on. You can switch between the Form View and Datasheet View for easier
editing simply by right clicking then left clicking on the title bar
(blue bar) at the top of the window.
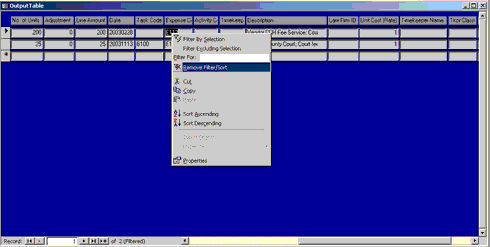 Viewing all the data again is as simple
as another right click - left click in the data section.
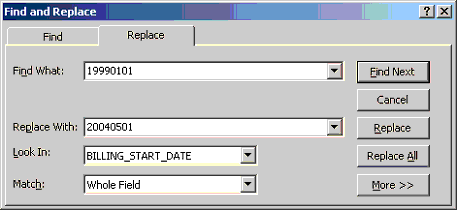
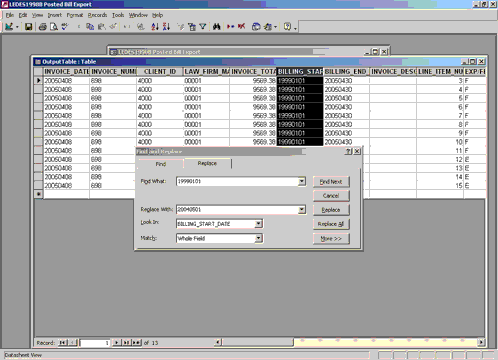 The table and datasheet views allow you to
easily Find and
Replace values in columns, such as the BILLING_START_DATE.
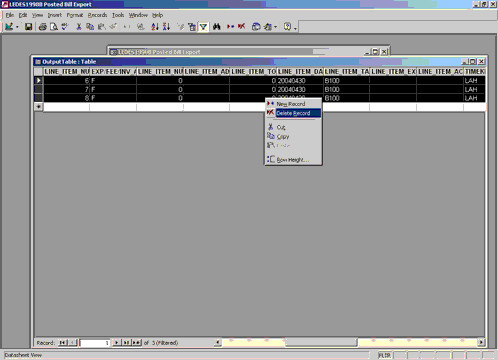
You can also use the filter in the table view. Below it is being used
to delete rows. The table view, like the datasheet view, is easier than
the form view for editing values in a column because you can use your
down arrow key to step through each field in a column.
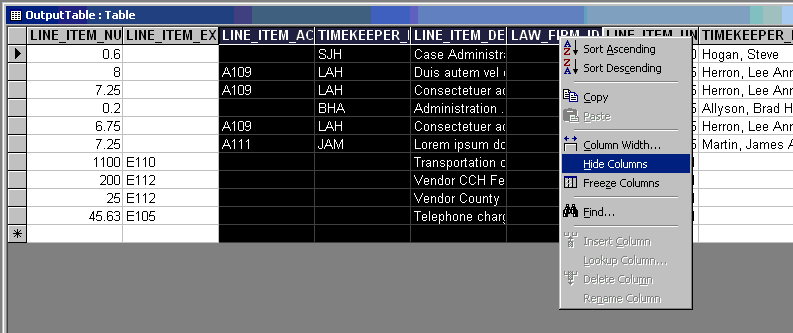
The table and datasheet views also allow you to hide columns.
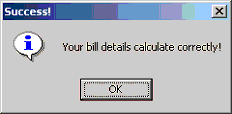
If you've edited the numbers, you can always
check your work by
clicking on the Check Calculations button.
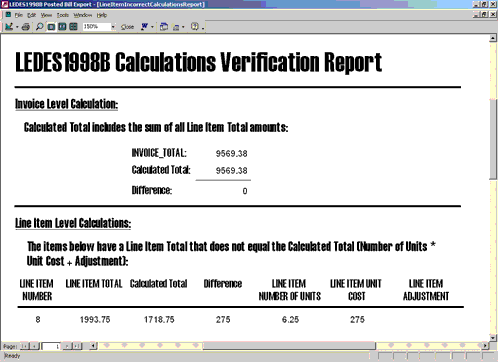
If the bill details don't calculate correctly, you'll get a report
detailing what is wrong.
If you've made a big mistake, you can always start over by retrieving
the bill details again.
Once you export the bill details, a copy of the
details is saved to the
temporary table. You can retrieve this information if you need to make
additional modifications after you have worked on other bills. To use
the details in the temporary table, simply copy the details from the
temporary table and paste them into the output table as described below:
- Important: Key in the bill number, but do not fetch details. This
is important for exporting both to the temporary table and to the file.
- Click on the Edit Bill Details (Table) button. If this is not the
same bill number, select all of the rows (Ctl + A keys) and delete
(Delete key). Close the output table.
- Click on the Temporary Table button. In the INVOICE_NUMBER column
(second from the left), find (Ctl + F keys) the bill number.
- Close the Find window, right click on the bill number and select
Filter By Selection.
- Select all of the rows (Ctl + A keys) and copy (Ctl + C keys).
Close the Temporary Table.
- Click on the Edit Bill Details (Table) button and paste (Ctl + V
keys) the details.
- Proceed with editing as you normally would.
You can periodically delete old bills from the Temporary Table if you
know you no longer need to work on them.
Need additional help? Contact us or your local Juris support provider.
(Note: the utility is free, but additional support is not.)
DeskLamp, LLC
PO Box 973
Westmont, IL 60559-0973
(630) 493-0583

© 2005 - 2006 DeskLamp, LLC

 Enter
the Law Firm ID. Typically, this is your firm's EIN or tax ID. However,
your client may require a different ID. After you enter the ID, close
the table by clicking on the X in the upper right hand corner. You will
not need to save -- it saves as soon as you type.
 For each of your personnel types, click on
the corresponding row in the TimekeeperClassification column and select
the appropriate LEDES1998B timekeeper classification from the dropdown
menu.


 You can filter the data to see just the
items you want. The easiest way is to highlight a value and right click
to Filter By Selection. You can also sort your data.
 Now work on just the items you need to work
on. You can switch between the Form View and Datasheet View for easier
editing simply by right clicking then left clicking on the title bar
(blue bar) at the top of the window.
 Viewing all the data again is as simple
as another right click - left click in the data section.
 The table and datasheet views allow you to
easily Find and
Replace values in columns, such as the BILLING_START_DATE.


